
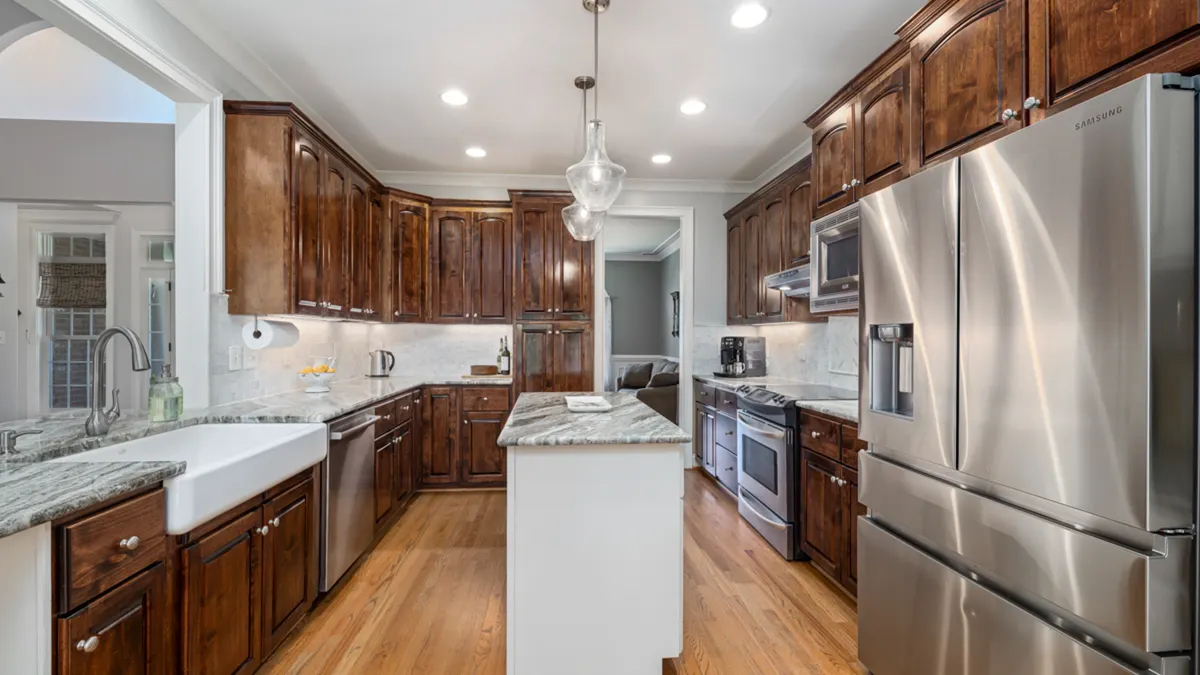
Last updated: October 30, 2026
Quick Answer: a well-arranged kitchen can cut several extra steps from every meal by organizing prep, cooking, and cleanup into a simple 3-zone workflow. How to Arrange a Kitchen for Faster Everyday Cooking means setting up the room so the most-used tools, appliances, and surfaces support the next action instead of forcing backtracking.
Key Takeaways
- Faster cooking comes from a short path from ingredients to plating to cleanup.
- Keep counters mostly clear, with only daily-use tools and a few workflow helpers visible.
- Store tools closest to where you use them most.
- Put appliances where they fit the next step with the fewest moves and cords.
A good kitchen layout makes weekday cooking faster because it puts prep tools, heat, and cleanup where they are actually used. In this guide to How to Arrange a Kitchen for Faster Everyday Cooking, the goal is to arrange the kitchen around your cooking workflow, not around how the cabinets happen to be built.
If a pot lives three steps from the stove, the cutting board is buried behind rarely used gadgets, and the trash can is across the room, every meal takes longer. The fix is not more storage. The fix is a kitchen layout that keeps the prep zone, cooking zone, and cleanup zone easy to reach in the order you use them.
This guide to kitchen basics and meal setup focuses on the practical part of kitchen layout: what goes where, what should stay on the counter, and how to stop crossing the room five times to make one pan of dinner. For related setup help, see kitchen basics, meal prep tips, and small kitchen storage ideas.
Start by mapping your kitchen layout to one cooking path
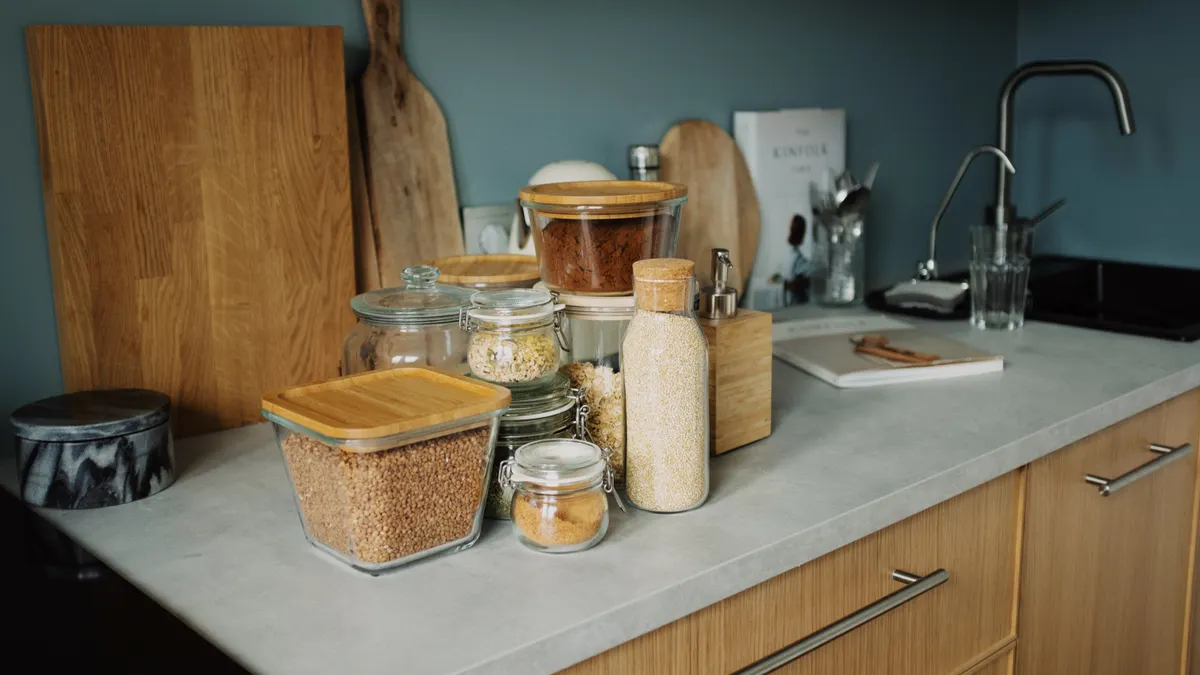
A faster kitchen layout starts with the shortest path from raw ingredients to plated food to cleanup. Before moving anything, stand in the room and trace a single meal from fridge to sink to stove to table. The point is not to decorate the space; it is to reduce backtracking in the next 15 minutes of cooking.
Use a simple 3-zone model:
- Prep zone near the biggest clear stretch of counter, with a cutting board, chef’s knife, mixing bowls, and a trash or scrap bowl nearby. When this works, vegetables can be cut without shuttling tools around the room.
- Cooking zone around the range, cooktop, or countertop appliance you use most. Keep spatulas, tongs, a utensil crock, oil, salt, and pans within one arm’s reach.
- Cleanup zone at or beside the sink, with dish soap, drying rack, sponge, and trash or compost close enough that peels and dirty tools do not pile up on the counter.
This arrangement works well in kitchens of almost any size because it follows sequence, not square footage. A 30-inch stretch of counter can function well as a prep zone if it is kept open. A 36-inch sink base can still be a strong cleanup zone if the tools for washing and drying are not scattered into other cabinets.
The trade-off is obvious: not everything can live beside its use point. Large stockpots, mixing bowls, or extra bakeware may have to stay farther away. That is fine. The goal is to keep the 8 to 10 items used most often closest to the work.
How do I organize kitchen counters?
Keep the counters clear except for the tools used every day and the one or two items that support your main cooking path. Counter space is valuable in the room, and anything parked there has to earn its place.
Start with a 10-minute reset of the main prep surface. Remove small appliances you use less than weekly, mail, decor, and loose containers. Then choose what stays out by frequency:
- A cutting board if you chop most days
- A utensil crock next to the stove for spoons, spatulas, and tongs
- A knife block or magnetic strip if it sits safely outside the cutting path
- A coffee maker or toaster only if it gets daily use and does not block prep space
Leave at least one uninterrupted work surface for chopping and mixing. A counter that is broken up by three appliances is not a prep area; it is storage with a flat top. If the only open section is next to the stove or under a cabinet that catches your shoulders, move something else.
The best counter setup is not “everything hidden.” It is “only the right things visible.” That usually means one to three daily-use items, not eight. If a gadget has to be lifted, slid, or unplugged before every use, it belongs in storage, not on the counter.
One useful rule is the 60-second test: if an item will not be used within a minute of being reached for, it probably does not belong on the work surface. That rule is not perfect, but it keeps the counter from turning into a waiting room for appliances.
The limitation is that some kitchens have too little counter to satisfy every use. In that case, the most honest choice is to reserve the clearest section for prep and accept that decorative display has to go elsewhere. Fast cooking usually beats a styled countertop.
For more on surface planning, see counter organization tips and kitchen zones.
Put tools where your hands reach them, not where they look tidy
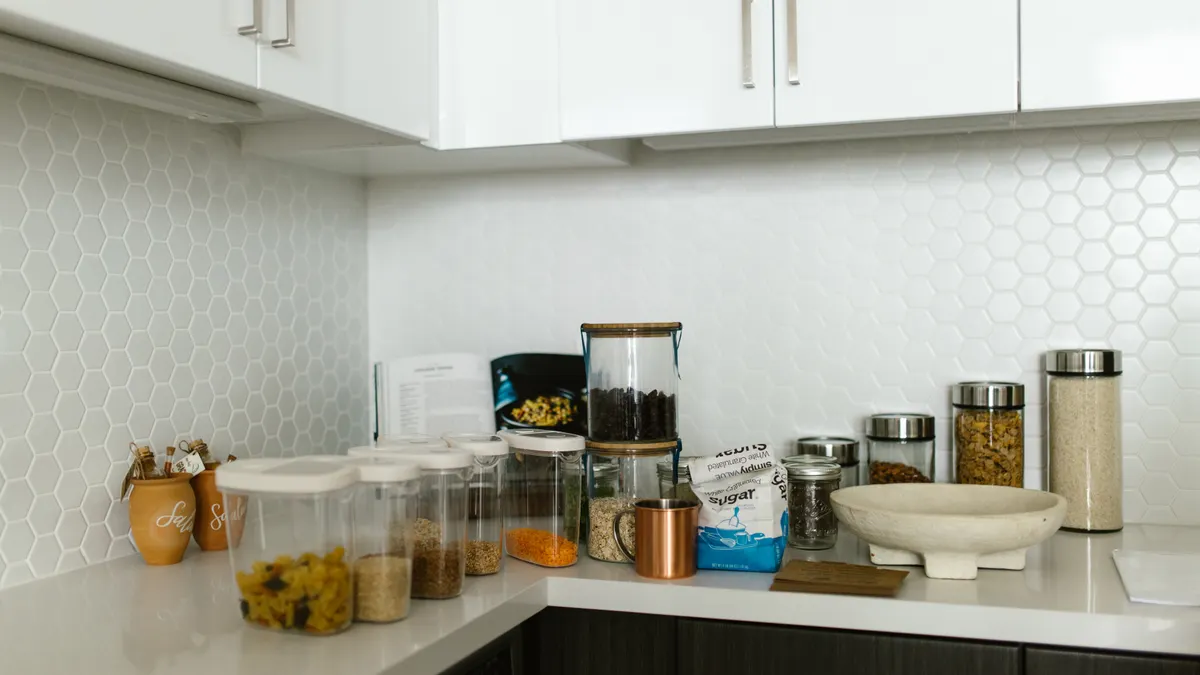
Store cooking tools in the cabinet, drawer, or rack nearest the place they are used most. A kitchen becomes faster when the grab-and-go items are grouped by task, not by category alone.
Keep these close to the cooking zone:
- Spatulas, wooden spoons, tongs, and ladles
- Oils, vinegar, salt, pepper, and a few common seasonings
- Pots, pans, lids, and trivets
- Oven mitts, timers, and matches or a lighter if needed
Keep these close to the prep zone:
- Knives, peelers, graters, measuring spoons, and mixing bowls
- Plastic or metal colanders
- Food storage containers and lids for leftovers or chopped produce
Keep these close to the cleanup zone:
- Dish soap, sponge, brush, gloves, and drying mats
- Trash bags, compost bin liners, and recycling containers if you sort while cooking
This is where many generic articles go wrong: they tell you to “group like with like,” which is neat but too vague. In a real kitchen, a whisk and a whisking bowl may belong in different places if the bowl is used at the prep counter and the whisk is used near the stove. Proximity beats purity.
A drawer divider or shelf insert can help, but the layout matters more than the hardware. A $20 organizer in the wrong spot is still slower than a plain drawer beside the stove. If you have to walk from the sink to the far end of the kitchen for tongs every time you flip a cutlet, the system is failing.
Do not split one task across too many storage spots. For example, if you keep cutting boards in one cabinet, knives in another, and mixing bowls across the room, prep gets slower before the first onion is sliced. The better pattern is one task, one cluster, one reach.
For layout products and placement ideas, compare drawer organizers, knife storage options, and pan storage solutions.
Arrange appliances around access and heat
Place the appliances you use most in the area where they connect to your workflow with the fewest steps and the fewest cords. The most useful spot for an appliance is usually the one that supports the next action, not the prettiest open patch.
A few practical placements:
- Put the toaster where crumbs do not land in the prep zone.
- Keep the coffee maker away from the main chopping area if breakfast and dinner crowd each other.
- Store the slow cooker, blender, or stand mixer where you can lift it once and use it without rearranging three other things.
- Keep the microwave easy to reach if it is part of your regular reheating routine.
For stovetop cooking, the most useful arrangement is a clean landing zone on one side of the range. That gives you a place to set a pan, a spoon, or a hot lid without crossing into the sink area. If the stove sits between two clear stretches of counter, one side can serve as the cooking zone and the other as the transition space for plated food.
Heat and splatter matter here. A utensil crock should not crowd the burner edge, and paper towels should not sit within easy reach of a flame. Keep anything flammable well away from direct heat sources. A common mistake is putting oils or spice jars so close to the cooktop that they get greasy, warm, or bumped.
This section is also where a kitchen layout can fail even when the storage looks smart. A mixer on a high shelf, a blender in a deep corner, or a rice cooker behind stacked containers all add friction. If an appliance requires two hands and a clear stretch of counter to use safely, it should not be buried where it becomes a project.
For product research, check the Consumer Product Safety Commission guidance and the U.S. Fire Administration advice on keeping heat sources clear.
Set up the prep zone so dinner starts faster
The prep zone should let chopping, measuring, and mixing happen without the cook wandering to other parts of the room. The faster the prep zone works, the less likely dinner is to stall halfway through.
Build it in this order:
- Clear one main work surface. The cleared area should be large enough for a cutting board and at least one bowl. When it works, the board sits flat and both elbows have room.
- Place the cutting board first. A board that slides or tilts slows every chop, so use a damp towel or non-slip mat underneath if needed.
- Add the knife and small prep tools nearby. Keep the most-used knife within one drawer pull or one quick reach.
- Park mixing bowls and colanders at the edge of the zone. They should be close enough to grab without crowding the board.
- Keep trash or scraps close. A bowl for trimmings or a small bin beside the zone can reduce repeated trips to the sink; if you are setting up a food-safety-sensitive workflow, consult a professional and follow FDA kitchen hygiene guidance.
- Store ingredients within one step. Oil, salt, and often-used spices should be reachable without leaving the prep surface.
The result you want is simple: you can chop onions, measure seasonings, and transfer ingredients without stopping to “set the kitchen up” again and again. A prep zone that works is one where you spend your time on food, not on retrieval.
A common error is letting the prep zone become a storage shelf for mail, fruit bowls, chargers, or bottles. That costs time every single meal because the surface has to be cleared before anything useful can happen. Another error is placing the board too far from the sink. You then spend extra steps rinsing, drying, and returning ingredients.
A prep zone is not permanent display space. If it takes more than 30 seconds to clear it before cooking, it is not arranged for speed.
What should stay closest to the stove and sink?
The items closest to the stove and sink should be the ones you reach for while your hands are already in motion. The stove area needs cooking tools; the sink area needs cleaning tools; everything else should stay out of the way.
Near the stove, keep:
- A utensil crock with the 5 or 6 tools used most often
- Cooking oil and the seasonings used in most savory dishes
- One pot lid or trivet if you use it often
- Pans and lids that match the burner sizes you use most
- Oven mitts in a dry, easy-to-reach spot
Near the sink, keep:
- Dish soap and a sponge or brush
- A drying rack if dishes air-dry
- Trash and compost access if food scraps are frequent
- Towels for wiping up spills
This setup helps because cooking is not a series of isolated actions. It is a chain. You sear, stir, salt, taste, wash, and reset. If each phase has its own zone, the whole process gets smoother. If the utensil crock lives by the sink and the oil lives on a far counter, every recipe gains extra steps.
Do not crowd the sink deck with everything that does not fit elsewhere. The sink area is for washing and drying, not for long-term parking. A stack of mismatched items slows cleanup and makes the counter feel permanently messy. It also blocks the one place in the room that gets used for almost every meal.
The kitchen workflow works best when the hot zone and the wet zone stay separate but connected. That means one safe place to cook, one clear place to rinse, and a small bridge between them where food can move through the room without interruption.
For cleaning setup ideas, see sink organization and dish-drying setup.
Common kitchen arrangement mistakes that slow dinner down
The worst kitchen arrangement mistake is storing items by category instead of by use, because that forces extra steps into every meal. A perfectly sorted cabinet can still be a slow cabinet if the cook has to cross the room for each tool.
Three mistakes show up often:
- Too many daily items on the counter. The cost is lost prep space. The fix is to keep only the most-used appliances and tools visible.
- Tools stored far from the task. The cost is repeated walking and interrupted rhythm. The fix is to move the utensil crock, knives, or spices closer to where they are used.
- Prep, cook, and cleanup zones mixed together. The cost is clutter and constant swapping of roles. The fix is to give each zone one job and keep it mostly exclusive.
Another mistake is letting rarely used items occupy the easiest cabinet. That saves the wrong thing. A fondue pot or holiday platter can sit on a high shelf; a daily skillet should not.
There is also a counterintuitive drawback to over-organizing: if every drawer is packed so tightly that one item must be removed to reach another, the layout becomes fragile. A fast kitchen needs room for motion, not just storage capacity. A drawer that opens neatly but jams when you reach for a measuring spoon is still a bad layout.
This approach is not for someone who mostly orders in, cooks once a month, or wants the kitchen to serve as a display room first and a work room second. It is for a person who wants fewer steps between “I’m hungry” and “food is on the plate.”
Keep the layout flexible as your cooking habits change
A kitchen layout should change when the cooking routine changes, not stay frozen because it looked good once. Seasonal habits, family size, and recipe style all affect which tools need the best locations.
Recheck the layout after 2 or 3 weeks of use. If the cutting board keeps drifting away from the main prep surface, move it. If the spice jar you use daily lives behind three others, promote it. If a counter item gets handled less than once a week, it may not deserve prime space.
A practical way to keep the layout honest is to notice the items touched in every meal:
- What gets picked up first?
- What gets used again and again?
- What causes you to pause, turn, or walk?
That pattern tells you more than a label does. A drawer labeled “baking” can still contain the spoon you need for pasta sauce. A cabinet labeled “miscellaneous” often hides the things that should be closer to the stove.
If the room still feels slow after a rearrangement, do not assume the problem is the size of the kitchen. Often the problem is that the most-used tools are not close enough to the action. Move the work, not just the objects.
For a broader setup of meal prep and kitchen basics, the hub on kitchen basics can help you refine your kitchen layout over time.
Drafted with AI; not yet reviewed by a person.