
Last updated: October 30, 2026
Quick Answer: organize a pantry by putting the fastest-reached food in the easiest-to-see places, then group everything by category, label it clearly, and build in rotation so older food gets used first. If you want the topic of How to Organize a Pantry So You Can Find Everything Fast to hold up in daily use, match the layout to how food is actually grabbed on a Tuesday night, not how it looks in a photo.
Key Takeaways
- A reset often makes a pantry easier to use.
- Group items by category, then by how often you reach for them.
- Put used foods at eye level and the rest higher, lower, or farther back.
- Pantry bins and airtight containers help when they match the food and shelf size.
Start with a pantry reset, not a storage bin
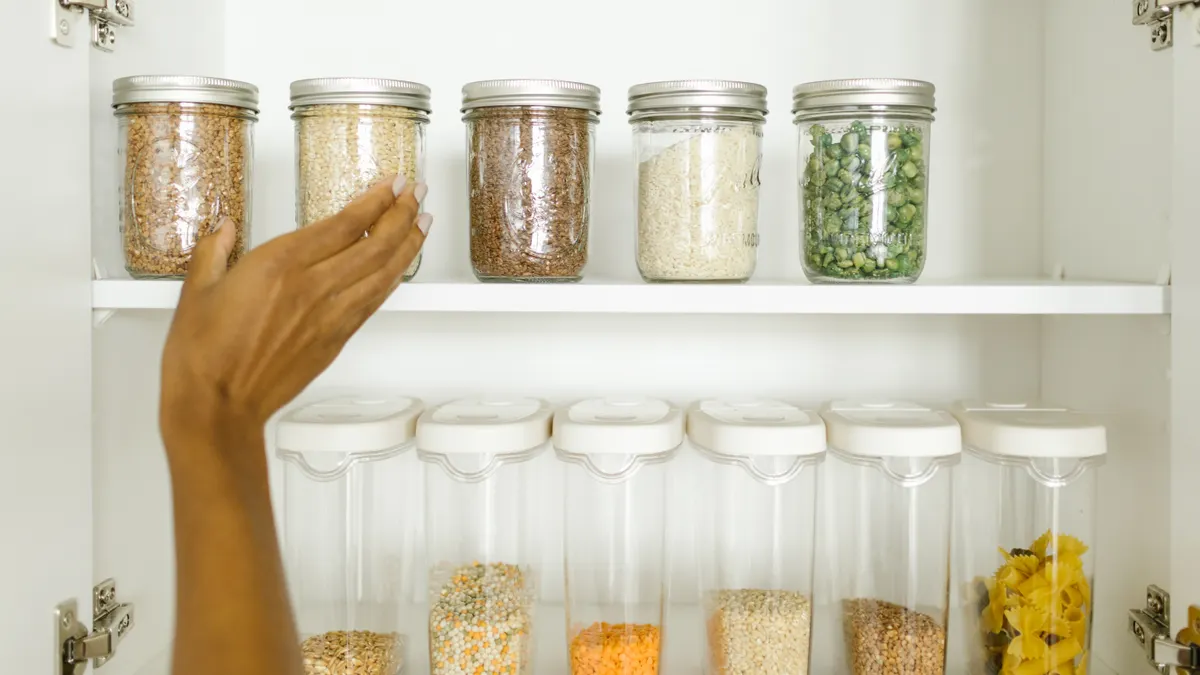
A clean slate often makes a pantry easier to use. Pull everything out, check dates, and sort the food into a few simple groups before anything goes back on the shelf.
Use a table, counter, or the kitchen floor if needed, and make 4 piles: keep, use soon, donate, and trash. Put anything opened, sticky, crushed, or expired in the right pile right away. If a box is bent but the food inside is sealed and current, it can stay; if a package is open and you cannot close it well, plan to decant it later.
This is the point where a pantry often reveals its real problem: duplicate sauces hidden behind cereal, three half-used bags of rice, and spices scattered across two levels. Once those are out in the open, the next steps are faster because the pantry is no longer being organized around clutter.
A reset also helps you decide what belongs there at all. Coffee, paper goods, baking supplies, pasta, canned goods, snacks, and breakfast foods are all common pantry items. Pet food, cleaning supplies, and overflow items can live there too if there is a clear zone for them, but they should not get mixed with food.
If you want a system that stays usable, do not skip this step and start buying containers first. That usually leads to mismatched bins and wasted space. The better move is to sort first, measure later, and only then choose the containers that fit the pantry’s real contents.
How to Organize a Pantry So You Can Find Everything Fast by category
Group pantry items by category, then by how often you reach for them. That means one zone for breakfast, one for baking, one for snacks, one for canned goods, and one for dinner staples like pasta, rice, and broth.
The simplest rule is to keep like with like, but not too broadly. “Dry goods” is too vague; “baking,” “pasta and grains,” and “snacks” are more useful because they match how people search for food in the moment. If a pantry holds 6 or 7 overlapping categories, it becomes harder to remember where anything lives.
Place everyday items where your hand naturally lands. Eye-level and the front edge of a pantry shelf should hold the foods you use several times a week. Higher spots can hold backup stock, seasonal items, and rarely used appliances or party supplies. Lower spots are useful for heavy items such as flour, dog food, or bulk cans.
A category also needs a stopping point. For example, keep canned beans together, but do not spread them across two bins and three shelf levels. One zone should hold one type of item, even if that means a category gets a little less decorative. That rule keeps the pantry readable when you are tired and in a hurry.
This is where shelf risers help. A riser creates a second visible row for canned food, jars, or spices, so the back row is not hidden. Use it where the container height is the problem, not as a universal fix. A 2-tier or 3-tier riser is often enough for small jars and cans.
Build the layout around visibility and speed
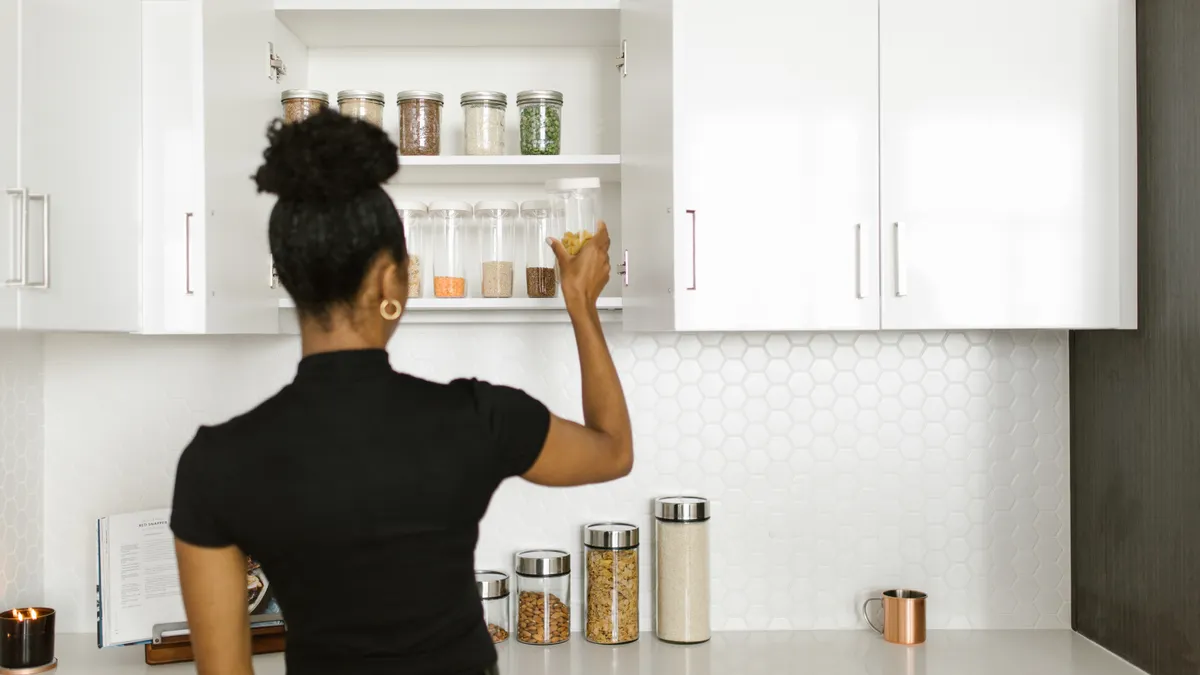
Put the most-used foods at eye level and the least-used foods higher, lower, or farther back. That single choice does more for retrieval speed than any matching container set.
Think of the pantry in zones from front to back and top to bottom. The front edge is for grab-and-go items like snacks, breakfast bars, and cooking oil. The middle zone is for staples you use weekly. The back of the top shelf can hold overflow, extra napkins, or unopened duplicates. If a food is hard to see, it gets forgotten and eventually duplicates appear.
A lazy susan works well for items that disappear in the back corner, especially oils, vinegars, sauces, and jars with narrow bases. Place it on a stable, flat shelf, not on a wobbly overfull surface. A 10- to 12-inch turntable often fits standard pantry zones better than a large one, though the right size depends on the shelf depth. If the lazy susan is so full that turning it feels like moving a loaded tray, it is carrying too much.
Shelf risers solve a different visibility problem. Use one for spices, cans, or small jars so the back row rises above the front row. If you can see every label without moving three things first, the setup is working.
Leave a little open space in each zone. A pantry packed wall to wall looks efficient, but it slows everything down because every item must be moved to reach the next one. A few inches of breathing room is easier to maintain than a perfectly filled shelf. That gap also gives you a place to set a grocery bag while putting food away.
For a larger system that fits the whole house, this pantry setup can sit inside a broader home organization systems approach without needing a full remodel.
Do pantry bins and airtight containers actually help?
Yes, pantry bins and airtight containers help when they match the food and the shelf, and they hurt when they are bought before the categories are clear. The point is not prettier storage; it is faster retrieval and less spill cleanup.
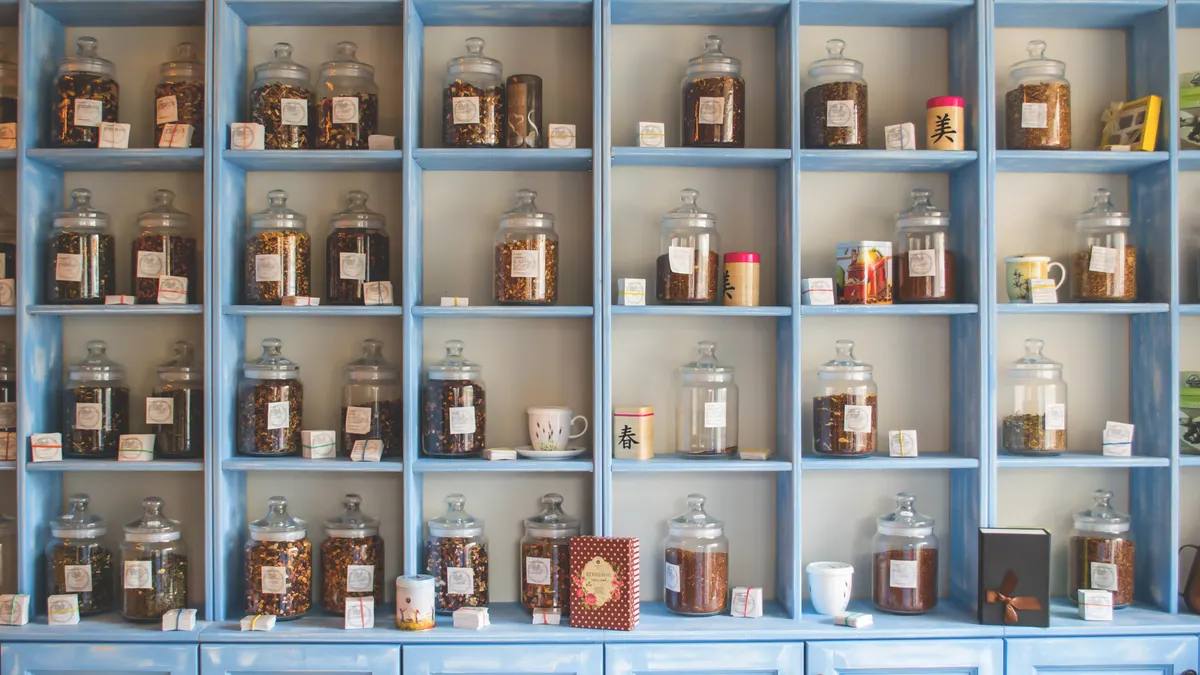
Use pantry bins for loose or oddly shaped items that slide around: snack pouches, seasoning packets, instant oatmeal, pasta bags, snack bars, or small condiment packets. Clear bins are useful because they let you see the contents without pulling everything out. Opaque bins can work too if labels are excellent and the category never changes.
Airtight containers are most useful for foods that go stale, absorb moisture, or spill easily: flour, sugar, cereal, rice, dried beans, pasta, coffee, and some snacks. They also make stacking easier when the original packaging is bulky. If you decant, choose containers with straight sides or stackable lids so you do not waste vertical space.
Decanting is not required for every pantry. It works best for foods used often, foods that pour badly, and foods that benefit from a stable shape on the shelf. It is less useful for items bought in small amounts, foods with short shelf lives, or products that already have a good resealable package.
The trade-off is time. Decanting every item can turn pantry maintenance into a chore that gets skipped. It also means more containers to wash, dry, and label. A better standard is to decant only when the container saves time later. A family that uses a large cereal box every week may benefit from a sealed container; a one-time baking ingredient may not.
Airtight containers should be food-safe and easy to scoop from. Square or rectangular shapes usually fit shelves better than round ones because they leave less dead space. If you cannot see what is inside, add a label on the front and top.
Label the pantry so it stays readable for anyone
Label the pantry by category and, when needed, by contents or expiration date. Labels remove guesswork, which matters when more than one person puts groceries away.
Use large, plain labels on the front edge of bins and containers. If the pantry is deep, add a second label on the lid or top so the item is identifiable from above. A handwritten label on masking tape can work for temporary sorting, but a printed label is easier to read and lasts longer in a humid kitchen. If the pantry is shared, keep the wording simple: “Breakfast,” “Pasta,” “Baking,” “Snacks,” “Rice,” “Cans.”
Labeling matters most for decanted food. Once cereal, flour, or crackers leave the original package, the packaging cues disappear. Without a label, the pantry becomes a row of mystery containers. That slows dinner prep and increases food waste because people avoid opening things they cannot identify at a glance.
Use dates sparingly and only where they help. A container of flour does not need a novel written on it, but a bag of open baking chocolate or a homemade dry mix may benefit from a “opened” or “use by” note. If the pantry holds many nearly identical items, numbering bins can help, though that is usually more useful in a very large system than in an ordinary home pantry.
The strongest label is the one that gets used. If a label maker makes the system feel too precious, simple adhesive labels or a paint pen on masking tape are fine. The goal is not perfect design. The goal is that anyone can put the groceries away without asking where the barley goes.
Set up rotation so old food gets used first
Rotate pantry items by placing newer food behind older food and moving the older items to the front. That keeps food from being forgotten until the date passes.
This is the same basic principle used in the FIFO method, or first in, first out. It is simple enough to manage in a home pantry. When groceries come in, set the new boxes, cans, or jars behind the existing ones in the same category. Do not stack the new bag on top if it blocks the item already open.
This step matters most for canned goods, grains, cereal, baking ingredients, and snack food that can sit for months. It also helps with duplicate purchases. When the front item is visible, you are less likely to buy another one because you “couldn’t find it.”
Rotation works best if every category has a clear home. If pasta lives in one bin and canned tomatoes live in one nearby zone, the older item is easy to spot and move. If both categories are scattered, rotation turns into a guessing game.
There is one honest limitation: rotation only works if the pantry is maintained after grocery day. A beautiful first setup can fail when people toss everything into the nearest open spot. That is why the layout has to be simple. If the system takes more than a few extra seconds per item, it will not last through a busy week.
A quick monthly reset helps. Spend 10 to 15 minutes moving older items forward, checking for duplicates, and pulling out anything that needs to be used soon. That short habit does more than a large seasonal overhaul because it catches drift before the pantry becomes chaotic again.
What mistakes make a pantry slow to use?
The biggest mistakes are overfilling, mixing categories, and choosing storage that hides the food. Those errors cost time every day, even if the pantry looks neat for a photo.
Overfilling a pantry leaves no room to move items forward. The result is buried food and duplicate purchases. The fix is to leave open space in each zone and stop treating every shelf as a target to fill. A shelf with 20 percent breathing room is often more useful than one packed edge to edge.
Mixing categories is another common problem. When pasta, cereal, and baking supplies share one bin, the pantry turns into a search task instead of a system. The fix is to give each food type its own zone and keep that boundary consistent.
Buying the wrong size containers also slows everything down. A bin that is too deep turns front items into hidden items. A container that is too tall blocks labels and wastes vertical space. Measure shelf depth and height before buying anything. Many pantry shelves are more efficient with shallow bins, a 2-tier riser, or a 12-inch turntable than with oversized storage.
A fourth mistake is making the pantry so “perfect” that nobody wants to use it. Matching containers are fine, but a system that takes five steps to return one box will not survive normal life. The pantry should be easy to restock by a tired person carrying groceries in one hand.
If the pantry is used by children or other adults, make the easiest items the easiest to reach. Snack bins, breakfast items, and lunchbox supplies should not require moving half the shelf. The best pantry is not the one that looks the most styled; it is the one that still makes sense on day 17.
Keep the pantry fast with one small maintenance routine
A pantry stays fast when it gets a 5-minute reset after shopping and a 10-minute check once a month. That small routine keeps the layout from drifting.
After grocery day, put items into their zones immediately instead of setting bags down to “deal with later.” Move older items forward, place new items behind them, and return any overflow to the correct bin. If you use pantry bins, stop when a bin is full enough that you can still see the contents. If a container is overpacked, split it or remove the extras.
Once a month, check for three things: expired food, duplicate items, and labels that are fading or missing. Replace only what is needed. A pantry does not need a full redesign every time it gets messy; it needs a short correction before the mess spreads.
The maintenance routine should be easy enough that it does not depend on a perfect mood. That is why the original layout matters. A pantry built around zones, visibility, labels, and rotation is less fragile than one built around attractive containers alone. It also makes grocery shopping easier because you can see what is low at a glance.
If the pantry keeps slipping back into chaos, the problem is usually not effort. It is layout. Tighten the zones, reduce the number of categories, and move the most-used foods closer to the front. Then the pantry becomes a place where finding dinner ingredients takes seconds, not a search.
How should i group items in a pantry?
Group items by category first and by frequency of use second. Put breakfast foods together, baking ingredients together, snacks together, and dinner staples together, then place the most-used groups at eye level or near the front. A pantry organized this way is easier to scan, restock, and maintain than one arranged by package size or brand.
Should i decant pantry items?
Decant pantry items when the new container clearly makes the food easier to store, see, or pour. Cereal, flour, sugar, rice, and crackers often benefit, but small or short-lived items may not. Decanting adds washing and labeling work, so it is worth doing only for foods that stay in the pantry long enough to justify the extra step.
How do i organize a pantry by category?
Organize a pantry by creating a separate zone for each food family and keeping that boundary consistent.
Drafted with AI; not yet reviewed by a person.